
My tastes for trailers may vary from others, this I understand. But let me tell ya - when I first decided I wanted to haul my horse around, I really wanted to do so in something like this:

spotted at the MCTA Jenny Camp. #jealous
These euro-style vans just seem so simple - but also kinda luxurious (that thing was HUGE). And there's actually a place nearby that converts old ambulances into horse vans... but it was not in my budget. In fact, pretty much nothing was in my budget, without financing. And if I was going the financing route, might as well buy new (but still affordable!).
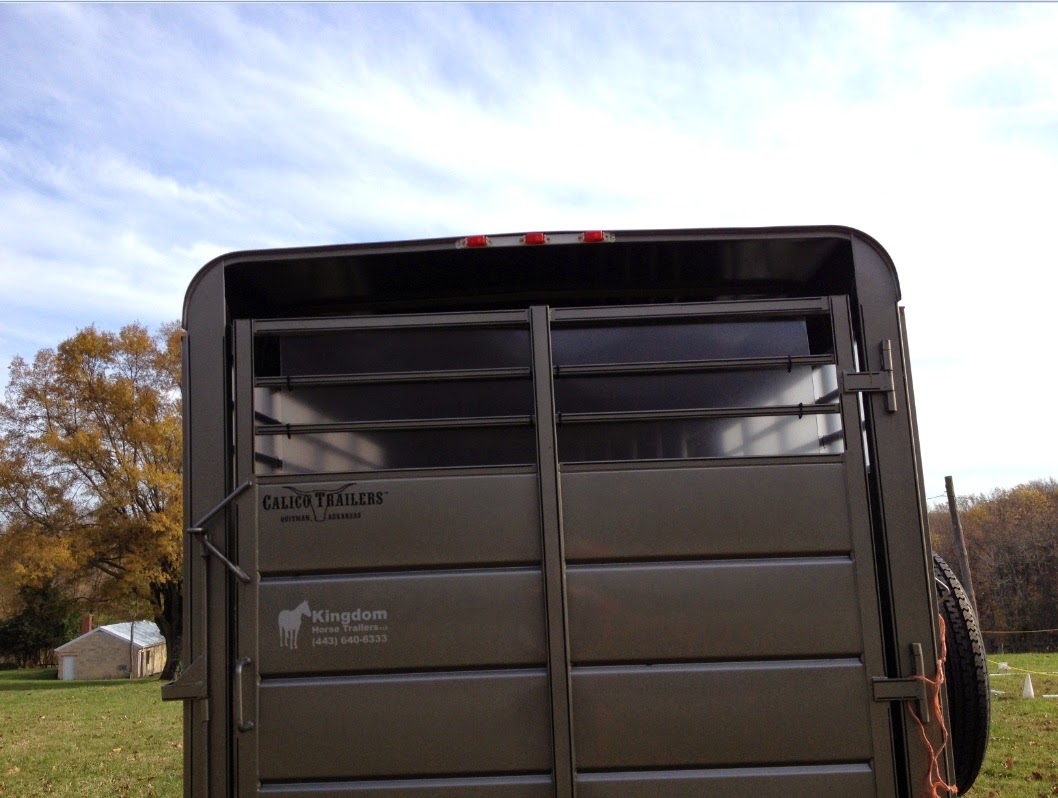
And thus, I found my Calico stock trailer. I've officially had this getup since April. The freedom to travel (even if only for lessons and little schooling shows on my own) has been revolutionary for me, and it makes me so happy. Even more so because the enabling funds were a modest inheritance from someone who would have been tickled to see me tooling around town in a big ol' truck and trailer.

i luv you!
But stock trailers have their drawbacks. Namely: the wind sheer factor in cooler temps. So enclosing the trailer has been a priority - particularly after two of my last three drives have been cooolllldd!! (one day was rainy, one was windy, and the third was actually fine, but dawned icy).
Everything I read on the google (which would never ever lie to me) said that stock trailers typically have these little grooves so that you can just cut plexiglass to size and slide the panels in. Easy in easy out. Sounds great, right? Except, my trailer had no such grooves.
My next best idea was to drill holes in the plexiglass and use zip ties to hold them in place.

And this is where I give a huge shout-out to Larry D from Lowes - dude THANKS! I took my trailer to Lowes hoping that a rep would be willing to give it a looksie, and Larry was game (turns out he used to have horses too - awesome!).
He took measurements and optimized my order (needed 6 panels) based on the various dimensions of the plexiglass in stock, and the max length that their cutting tool could handle (as demonstrated above).
Once the pieces were cut, a very capable friend drilled the holes. Plexi is a funny thing to drill into, and the escape door panel ended up cracking. It's fine for now, but will likely have to be replaced sooner than the others. Fortunately, I have a scrap piece that can be cut to size.
And the zip tie idea definitely worked. Plus it'll be super easy to take 'em off again come spring!
I removed the protective film on the interior side of the plexiglass (so ponies can't chew or ingest it), but left it on the exterior. This will supposedly help the plexiglass last longer. And it diffuses the light a bit for a neat effect. However I reserve the right to change my mind about this at any time lol.
Interior:


notice that the seam between panels is hidden behind the upright bar


still a lot of open space around the rear door, but that's less of a concern than the sides

escape door has extra packing tape on it to reinforce the cracked area
Exterior:


close up of the zip ties. they actually worked really well and got a close, tight fit. the closure is on the exterior to avoid any sharp edges or chew-able pieces inside.

So the total cost for this project was just materials (about $175) and some good credit from a friend who's handy with power tools. Not too shabby - hopefully it holds up!
What an ingenious solution - you are joining the ranks of DIY Empresses like Beka @owlsapprove.
ReplyDeleteI like the fact you've left some air access at the back (whether intentional or not) as air circulation can't be a bad thing when transporting right? Fresh air & whatnot? warning-is-my-ignorance-showing-again
*blush*
thanks! and i agree - a little air circulation is a good thing, so long as it's not too windy in her face!!
DeleteGenius!
ReplyDeletethanks :)
Delete1) I also LOVE horse vans 2) The plexiglass should work just fine I would think. I used to have a trailer that had the tinted plexi that you could slide in and out and I kinda liked it,
ReplyDeletelol glad i'm not the only one! and it sounds like your old trailer was more like what i was expecting for this project. but it worked out well enough, i think :)
DeleteWow, that looks SO professional! I have seen some stock trailers enclosed for winter that look pretty unprofessional, but this just looks amazing. Nice work!
ReplyDeletethanks! i'm hoping it holds up looking ok... the protective film on the exterior might start looking a little ratty, but if that's the case i'll just peel it off
DeleteWow! The looks great! Also you are not the only one who loves the European horse boxes vans. I think they are neat.
ReplyDeletethanks! and i just love those vans lol
DeleteThat looks AWESOME. Way to go!
ReplyDeletethanks! so far the mare seems to like it too
DeleteGreat job!
ReplyDeletethanks!
DeleteWow that is awesome!!!! You did a great job. I might have to steal this idea lol. :D
ReplyDeletedefinitely do steal it! i was starting to really worry about making isabel haul around in an open trailer in these cold temps... now i feel much better :)
DeleteDo you take them out in warmer weather?
Deleteyep! the zip ties needed regular maintenance and replacement, but the panels lasted the whole time i owned the trailer
DeleteIt turned out really nice!
ReplyDeletethanks! fingers crossed it *stays* looking nice through the season!
DeleteWow That's so cool!!
ReplyDeletethanks! hopefully it helps keep izzy more comfortable :)
DeleteI'd call that a success! Awesome job!
ReplyDeleteThanks! I'm pretty pleased :)
DeleteWhat a great idea!!
ReplyDeletethanks - and definitely necessary too. it's getting cooolllldd!!
DeleteWow that is awesome!!!! You did a great job. I might have to steal this idea stock trailers for sale near me
ReplyDeleteQuestion - how did it hold up? And do you remember what drill bit you all used?
ReplyDeleteIt held up really well - the zip ties do get worn out after about a year and need to be replaced but the plexi panels worked great. I would take down the farthest back panels during summer and put them back up again for winter, the adjustability was nice. And when I sold the trailer I gave the panels to the new owner too, who presumably still uses them.
DeleteIdk about the drill bit but assume it wasn't anything fancy or special.
Good job I will do the same. What was the thickness of the plexi glass?
ReplyDeletei honestly don't remember exactly, but it was pretty thin -- maybe 1/4"? definitely less than half an inch.
DeleteI was thinking of using plywood but that would make it so dark inside this is a better idea, Is plexiglass expensive and what thickness was it?
ReplyDelete