Gosh, it's been a
long time since we've had a
good ol' fashioned DIY post around these parts, eh? So! Let's dig into my latest inspired idea!!
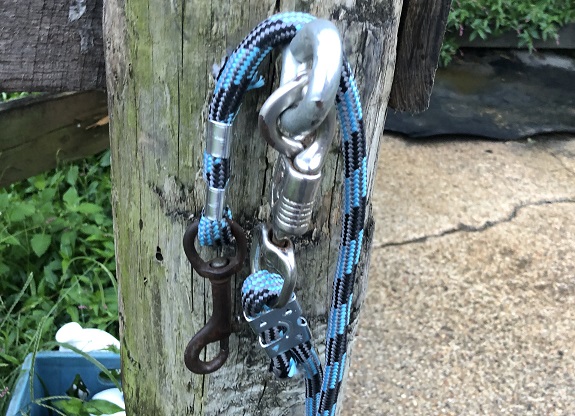 |
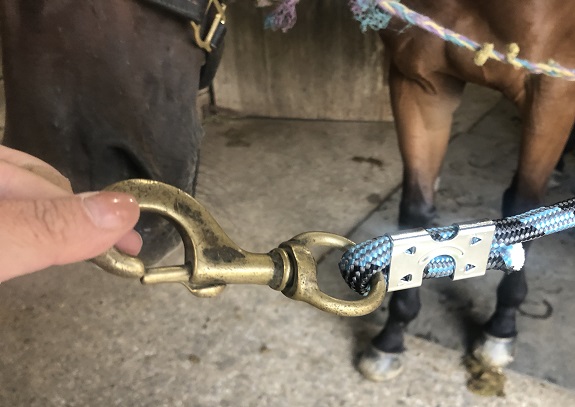
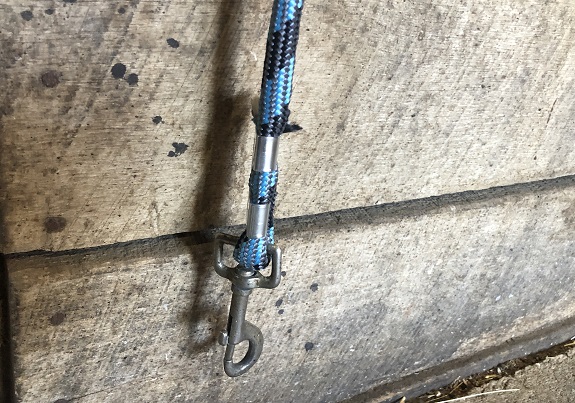
| a finished tie in our al fresco wash stall with repurposed snap hooks, including one safety release clip |
And for those of you who have never read a prior patented 'Fraidy Cat Eventing DIY post before, I want to make a few promises right off the bat:
- Did I use the best tools for the job? ...No
- The best materials? Probably not?
- Is this method cheaper than store bought? I don't actually think so... oops?
- Do the results look a bit homemade? Yep
- Will you actually be able to easily recreate this exact project with identical results? Yes, 100%
 |
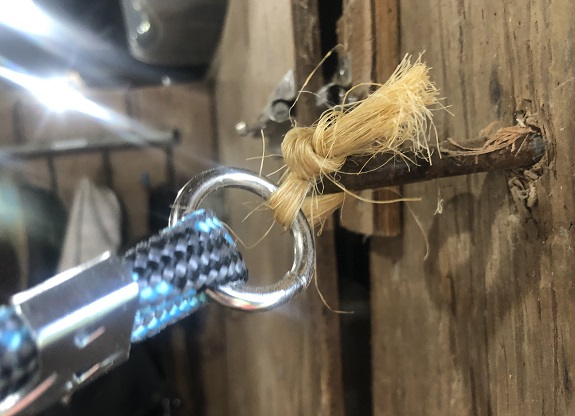
| fittings at this farm are notoriously and relentlessly practical, as evidenced by the hay string ties lol |
Anyway. Some backstory --- Charlie's farm is pretty old and definitely on the rustic side of things. It's part of the charm of the place, the character, the
patois if you will. And to be perfectly honest, I've always been aggressively practical, too. If it works, it works, right?
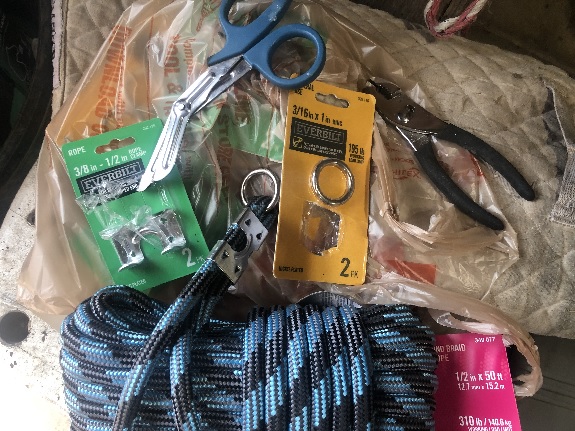 |
| tools + supplies! |
Sometimes, tho, it's nice to have...
nicer stuff. Little details that minimize the struggle. Like cross ties that are a useful length with easy clips, that maybe don't look like hot trash in pictures, eh?
 |
| bandage scissors and cheapo tiny slip-joint pliers are.... not the ideal tools for the job. but guess what? they work! a bigger beefier set of pliers with longer handles (more leverage) is recommended |
I have this vision of outfitting the whole barn with matching cross ties, rather than the hodge podge of braided baling twine, stolen lead ropes, and bits of chain that make up the current roster. For now, tho, I satisfied myself with just replacing 3 sets of ties with this method. If these 3 hold up reasonably well, we can talk about replacing the rest!
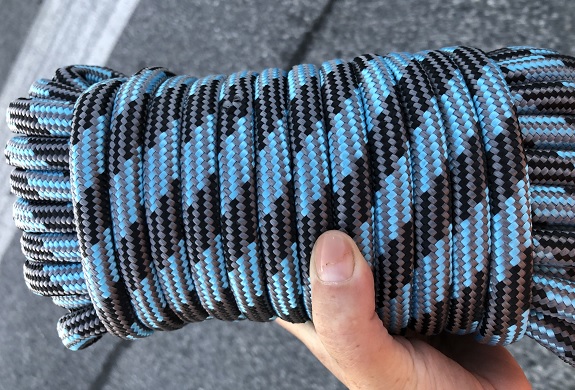 |
| it's rope, y'all! home depot sells all sorts of fun colors in different dimensions. this is 1/2" thickness |
It's a ridiculously easy method, too. At first I was thinking about buying nylon straps or webbing and trying to figure out how best to sew the seams.... But then the idea of rope occurred to me. Rope is easy, right?
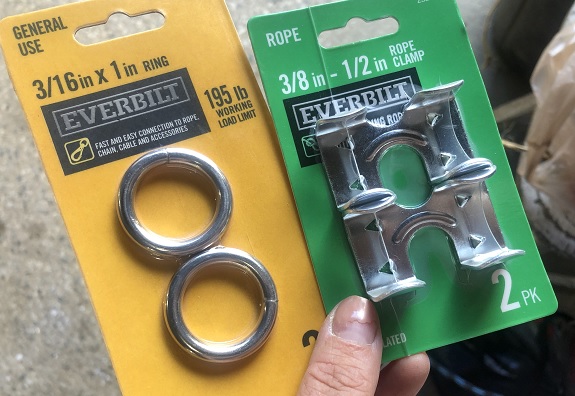 |
| rope clamps are an absolute must for this method, the silver rings are a nice bonus touch |
Home Depot sells all these nice little clamps designed specifically for this purpose, plus all the other odds and ends of hardware.
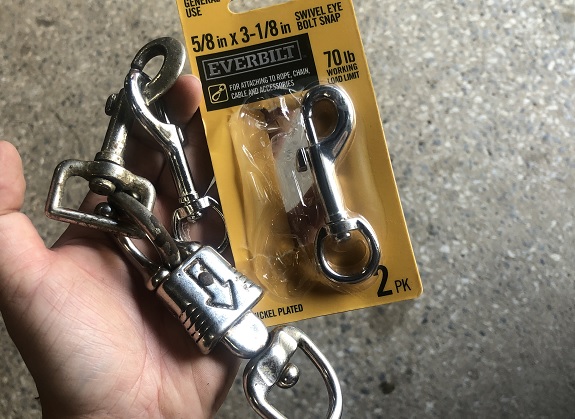 |
| don't be like me and buy cheapo dinky snaps. be like me and cannibalize beefier snaps from elsewhere around the farm! |
Which.... It turns out, the hardware is really where you spend your money here. I kinda cheaped out a little bit too, will not buy these same snaps again (ended up mostly reusing / recycling heavier duty clips from old cross ties or otherwise lying around the barn), and these clamps aren't as robust as you'd see on your typical lead rope.
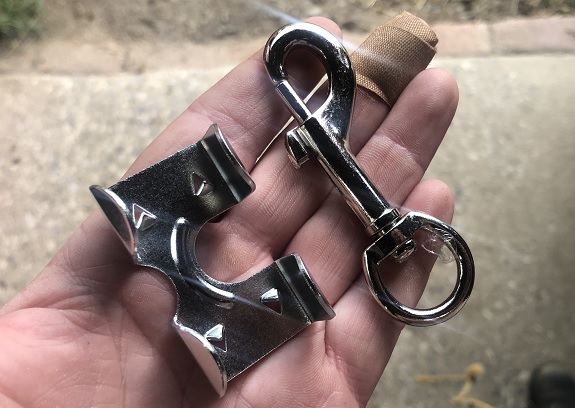 |
| clamp + snap + rope = a cross tie! |
So ya know. If you're buying a $12 set of cross ties, what you're really buying is the hardware. And even then, you're probably getting a better value than I did here bc most manufacturers are probably getting their hardware wholesale.
 |
| make sure you buy the right sized clamps for your dimension of rope |
I didn't work it out exactly, but I think these ties ended up being about $13 per set. Which.... ain't exactly a bargain lol. But oh well -- they're cute!
 |
| ain't much to it other than clamping! (and yes i'll probably go back later and burn down the rope ends) |
Anyway. I don't have like a specific length or anything to recommend for making these yourself --- rather, I cut each and every single tie to length based on where it would be located.
 |
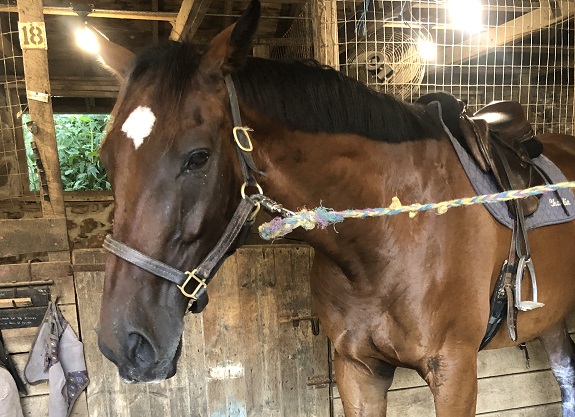
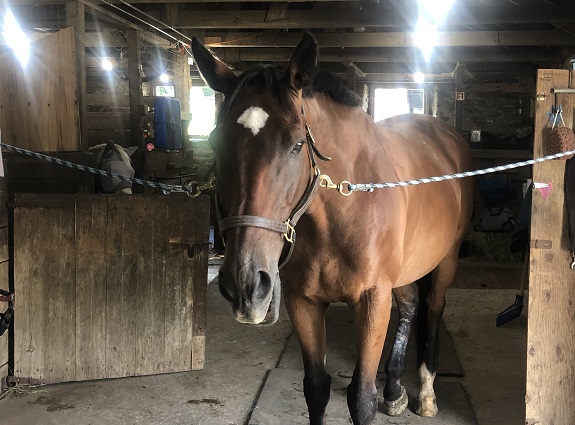
| don't forget to provide frequent progress reports to the boss! |
My intent is to fix these to the wall using a small loop of baling twine as the breakaway, so if you use the same method -- you're better off cutting too short a length vs too long. You can always add more length to the baling twine, but it's kinda hard to take length away once the clamps are on (unless you want to start adding knots everywhere....).
 |
| new vs old! |
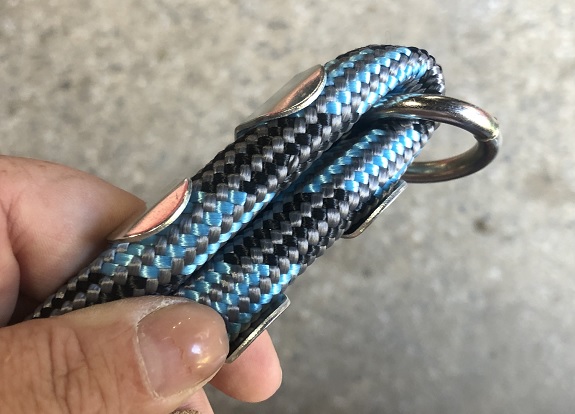
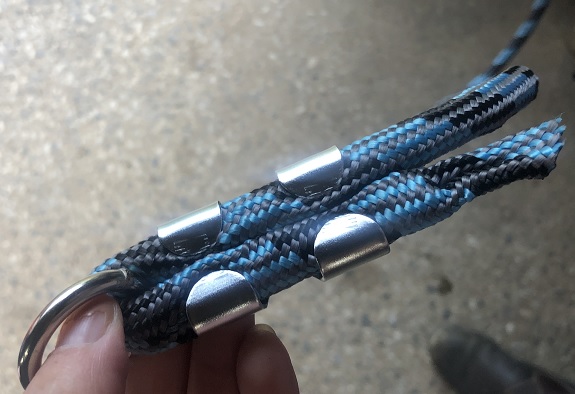
The ends that were intended for wall attachments got little silver loops. This isn't exactly necessary but I figured it'd reduce friction and wear on the baling twine (vs looping it directly around the rope itself), plus it looks nice. The other end obviously got a snap for clipping onto the horse's halter.
 |
| is the little extra silver loop necessary? no -- but it looks nice and finished! baling twine intended to be the weakest link to breakaway in the event of an accident |
I did actually have exactly one breakaway safety snap (in the very first picture at the top of this post) and that went out into the wash stall where one side of the ties is kinda on the low side just by nature of the post height.
 |
it ain't much, but it's an honest day's 5min work |
So the plan is to live with these ties for a little while, and see what we think of them. In some ways they do feel a little delicate -- like the 1/2" rope is definitely less than what I'd want in a lead rope. But I think I like the weight for the cross ties.
The rope also has a little bit of give to it, which may help prevent a horse from feeling like they really "hit" the end of the tie. Or maybe they'll stretch out after a week of constant use, who knows!
 |
| bc it's the little things, amirite? |
I'm also curious to see how the hardware itself holds up. Will it rust? Did I clinch the clamps down tight enough? Is it heavy duty enough for horses or will it all come to pieces? Who knows! Anything is possible!
One thing is for certain, tho:: it's way cuter than the hay string ties LOL. So, as far as I'm concerned, it's a win.


Hey, if its effective I say do it! And they are much prettier than 12 dollar cross ties
ReplyDeletealready done! we shall see if they hold up, maybe i'll do more! or maybe i'll order the real deal for the highest traffic grooming bays.... LOL
DeleteThey look nice!
ReplyDeletethx! i'm ridiculously pleased with the upgrade from twine LOL
DeleteYou use pliers to "close" the rope clamp? Is it hard?
ReplyDeletethat's correct! it actually wasn't as hard as i expected (wasn't sure i'd even be able to do it with my dinky cheap set of pliers), but it did take basically all i could give with a two-hand squeeze haha, and after 6 individual cross ties each with 2 clamps... my hands were tired LOL! pliers with a bigger mouth and longer handles would make the job much easier --- particularly the "longer handles" bit.
DeleteWell done!
ReplyDeletehopefully they last :)
DeleteHey, great idea! I am a fan of DIY projects. Thanks for sharing this.
ReplyDeleteThey look great! Maybe not as cost effective as just using lead ropes (which is what I have in my barn) but I dunno, I think there's a certain satisfaction in making something yourself that looks really nice.
ReplyDeleteThis horse bridle not only looks great but also seems functional. The padded noseband and browband are thoughtful touches, ensuring my horse's comfort during rides. I appreciate that it comes with different color options, allowing me to choose the perfect one to complement my horse's coat.
ReplyDelete